Hey there all,
Been a busy last couple of months what with commissions and the holiday period, but, now I’m back. I’m currently in the process of getting a couple of Warhammer armies painted up; Vampire Counts, Ogres, and Dwarfs. Ok that was three! We’ll start off the new year with the Dwarfs. Get yours painted now before they disappear on a spaceship! Or was that the Lizardmen?!
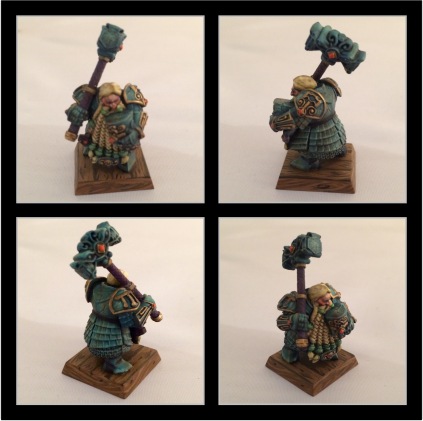
Having read the fluff (yes that weird bit at the start of the army books) I decided I wanted my dwarfs to represent a marine force from Barak Varr. This is a very rich city as it is the gateway to the sea for the Dwarfs and from here they trade with the entire Warhammer world; making them rich and fairly cosmopolitan.
I decided I wanted to take an Elven influence in the choice of colour scheme so I started pulling colours down from the shelves. I went with Turquoise, US Intermediate Blue, Jade Green, Violet and Purple. Orange for the gems and Yellow for the predominant beard colour. I decided to avoid too much metallic work and have Blue/Turquoise armour and weapons
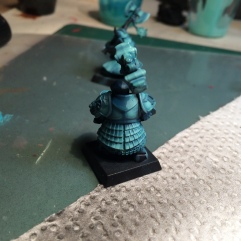
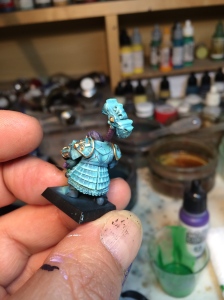
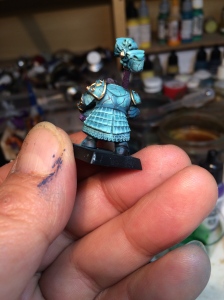
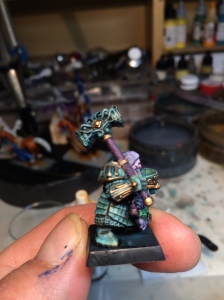
First step then was to give our Dwarf a black undercoat. followed by a base layer of Turquoise mixed with a touch of Jade Green and US Intermediate Blue. This was all done using the airbrush with a psi of around 25-30. Mixing in some of the other dominant colours to be used on the army helps in the process of tying in all the colours so they work well together.
He was then given a couple of airbrushed highlight layers by adding a little white and US intermediate Blue into the mix. The highlights were added to the centre of the shoulder blades, to the bottom edge of the lines of scale mail and the raised areas of the helmet and weapons.
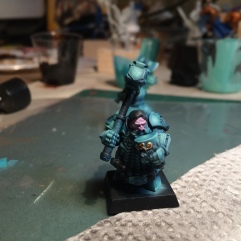
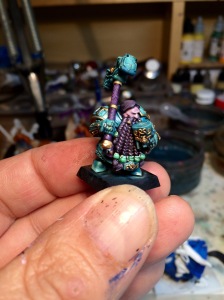
Next, Just to see how the colours were working together I switched off the airbrush and got out the Rosemary and Co Series 33 Kolinsky brush, size 1, sable added Green for the beads i the beard, Gold piping (Vallejo Alcohol based metallics) and a purple haft on the weapon. I also did some fine lining on the armour plates.
I decided to bread up the larger flat areas of the armour with a few cracks so painted some rough dark lines and highlighted them with a mix of turquoise, white and US intermediate blue. Next up was to give the whole model a wash of Tamiya smoke, slightly thinned with water.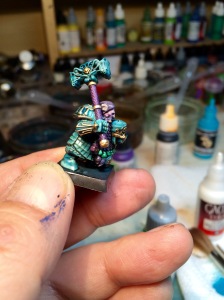
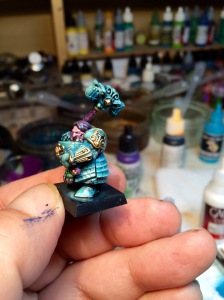
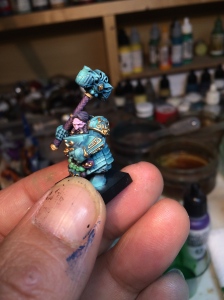
Now it was starting to come together but still felt a little flat so out with the oil paints. I dotted on a few spots of Burnt Sienna and dragged them downward and blended them in with a flat brush.
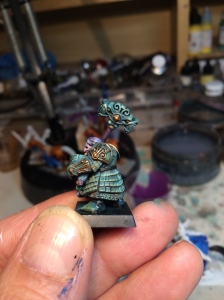
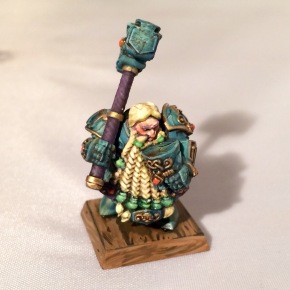
At this point I added in the hair, beard, and flesh … but decided I wasn’t happy with the tone of any of them so repainted the beard and hair yellow, highlighted up to white. The face I repainted using slightly warmer colours. The original Idea was to give them a light purple flesh tone.
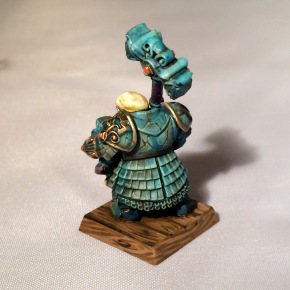
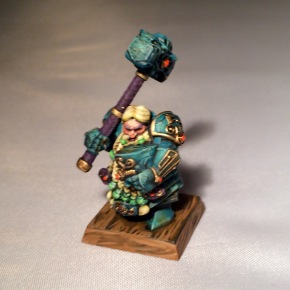
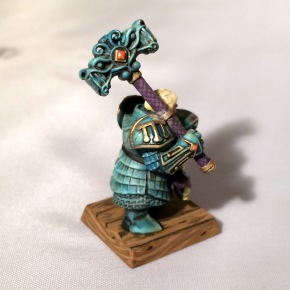
So, the finished article. This was just a quick paint to get a feel for the colours and have an idea of how to approach the rest of the army. Can’t wait to get going on the rest!!
I am already planning a display board for this army. The deck of a Dwarven Ironclad ship! All progress will, of course, be posted here!
So thats about it for this post. Thank you for reading. If you have any questions just leave a comment below of find me on twitter @wrkbnchwarriors or if you are interested in commissioning me to paint for you contact me either on twitter or email. richard.bradley@mac.com
Please do check out some of the fabulous companies in the side panel; the excellent Bendyboards http://www.bendyboards.co.uk, The ludicrously talented DiceBagLady http://thedicebaglady.net and none of this painting would be possible without the utterly wonderful Rosemary and Co brushes. Don’t forget to order your Workbench warriors Brush set here http://www.rosemaryandco.com/gift-sets/brush-sets/workbench-warrior-set and last but by no means least don’t forget to visit Element Games for all your other hobby needs http://elementgames.co.uk
See you all next time
Richard

